

2d Animation In After Effects
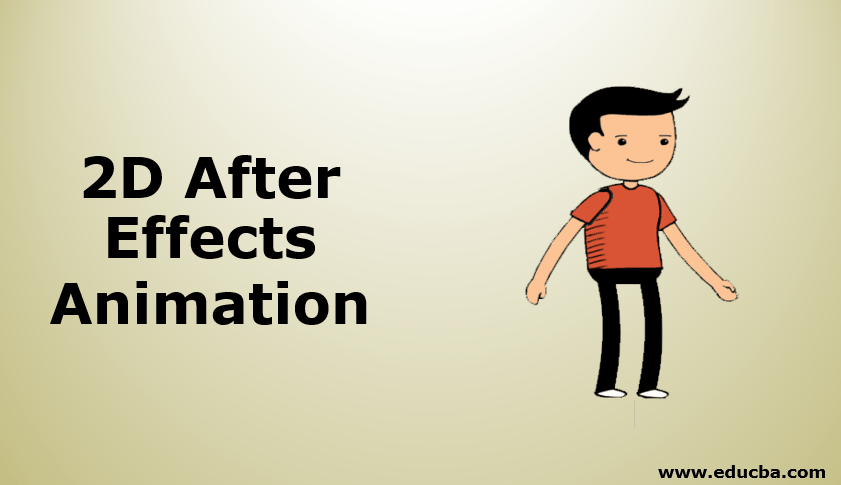
Introduction to 2D After Effects Animation
2d Animation is nothing but 2 Dimensions; for 2d animation, we need to have good drawing skills; else, we need to have a good idea of the anatomy of a character. We need to draw every frame in 2d animation, Flash software has mostly used for 2d, but in After effects, we have more comfortable options to create 2D animation, so many people started using After effects for 2D animation. There is a lot of ways to create 2D animations in that; we are going to use one option that is the walk cycle, we are going to create a cartoon to walk.
Creating 2D Animation in After Effects
Below steps shows 2D animation in after effects:
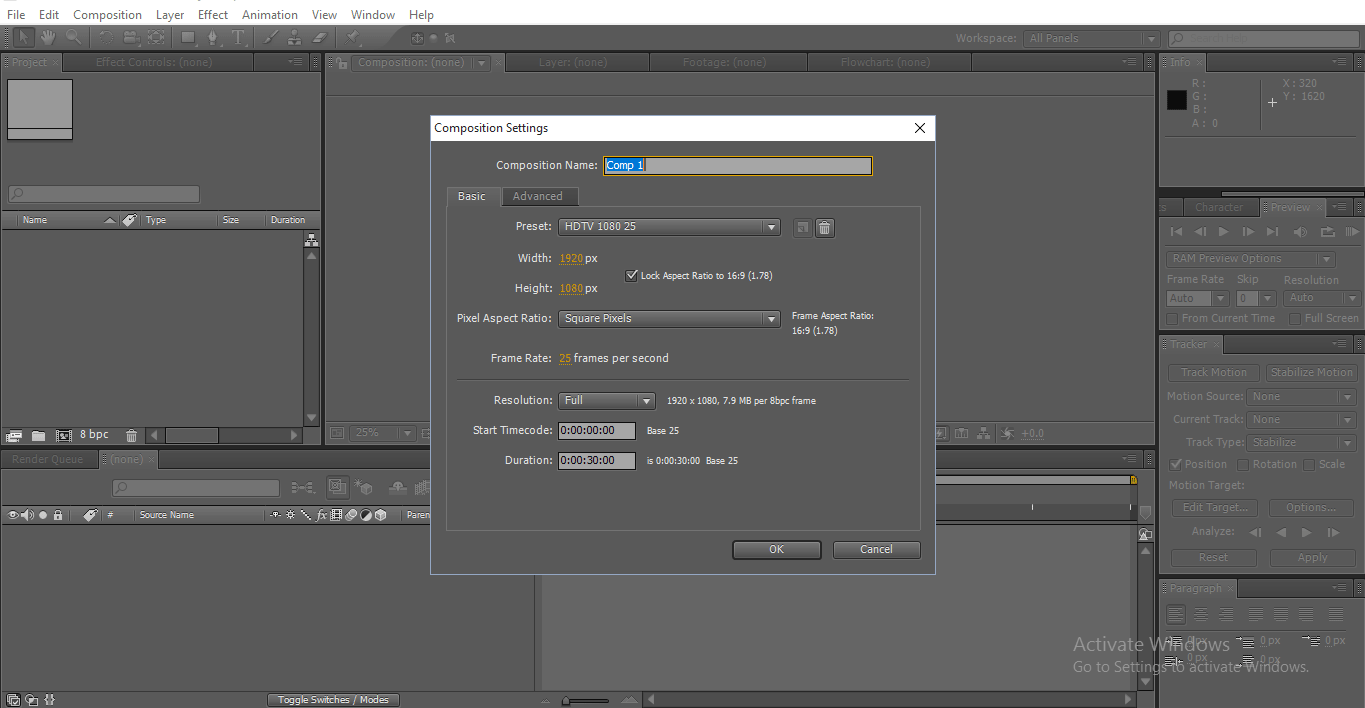
Step 1:Start a New composition.
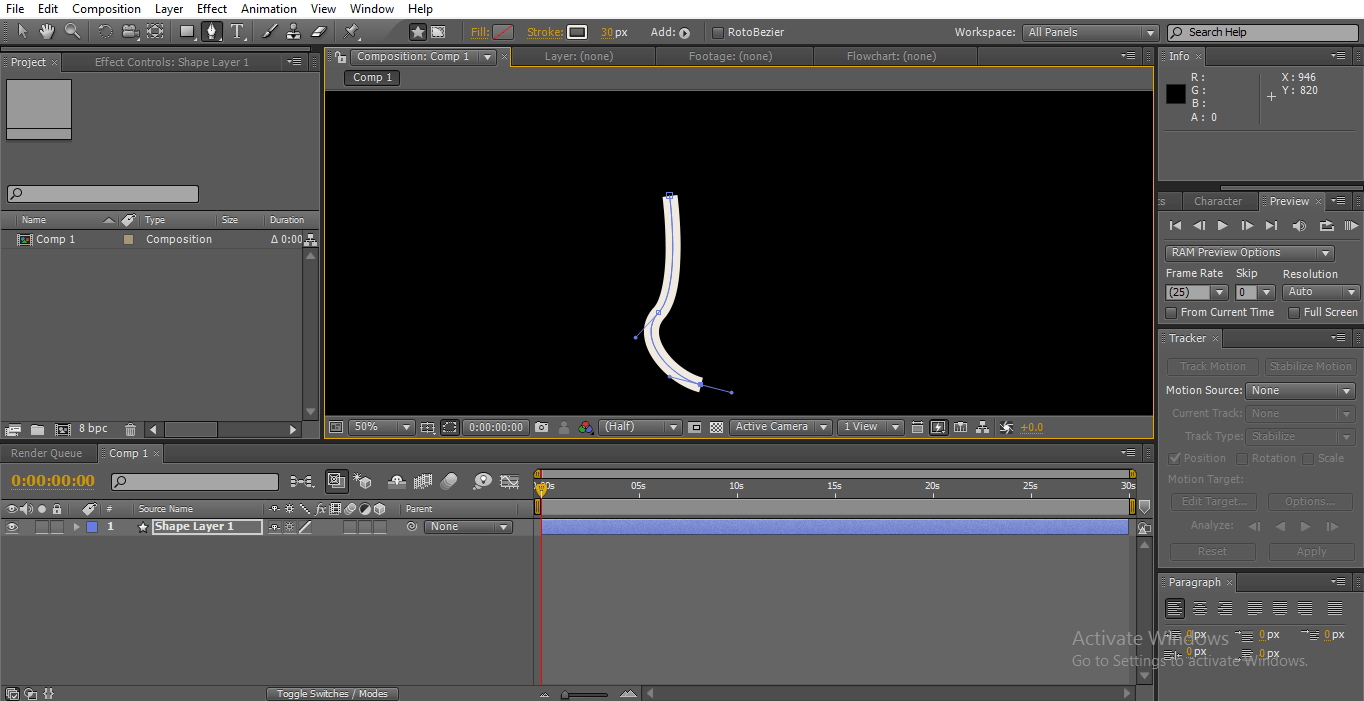
Step 2:If we have the ability to draw, we can draw our cartoons.
Step 3:We have another option, we can create our needed particles in photoshop and import that to after-effects.

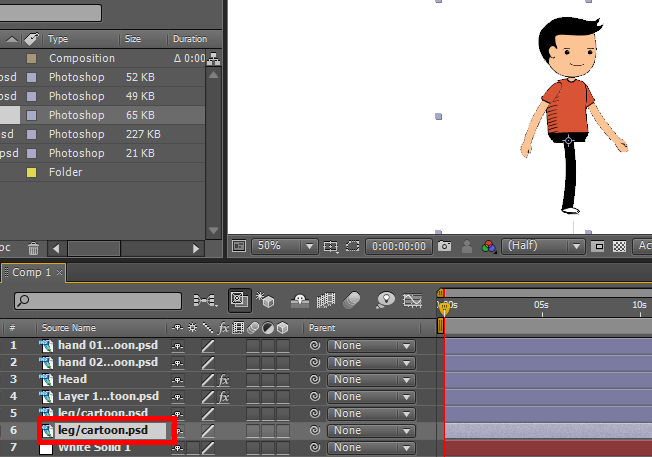
Here we can see the option merged layer or choose layer; in the merged layer, we get a single frame with all layers merged. We have all our PSD layers; we need to import all the individual layers.
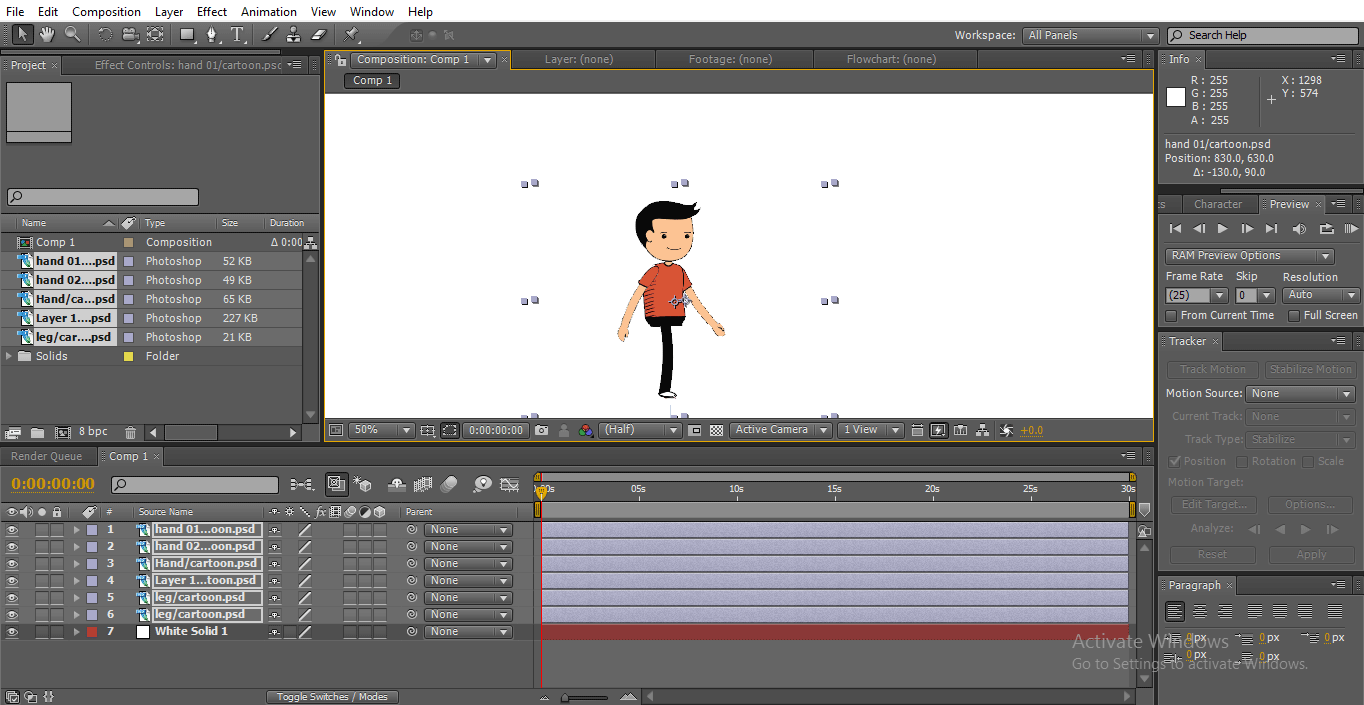
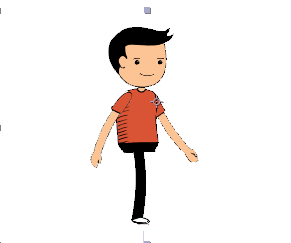
Step 4:Here, I imported all the individual layers of a cartoon character.

Step 5:We need to import all layers to the timeline.
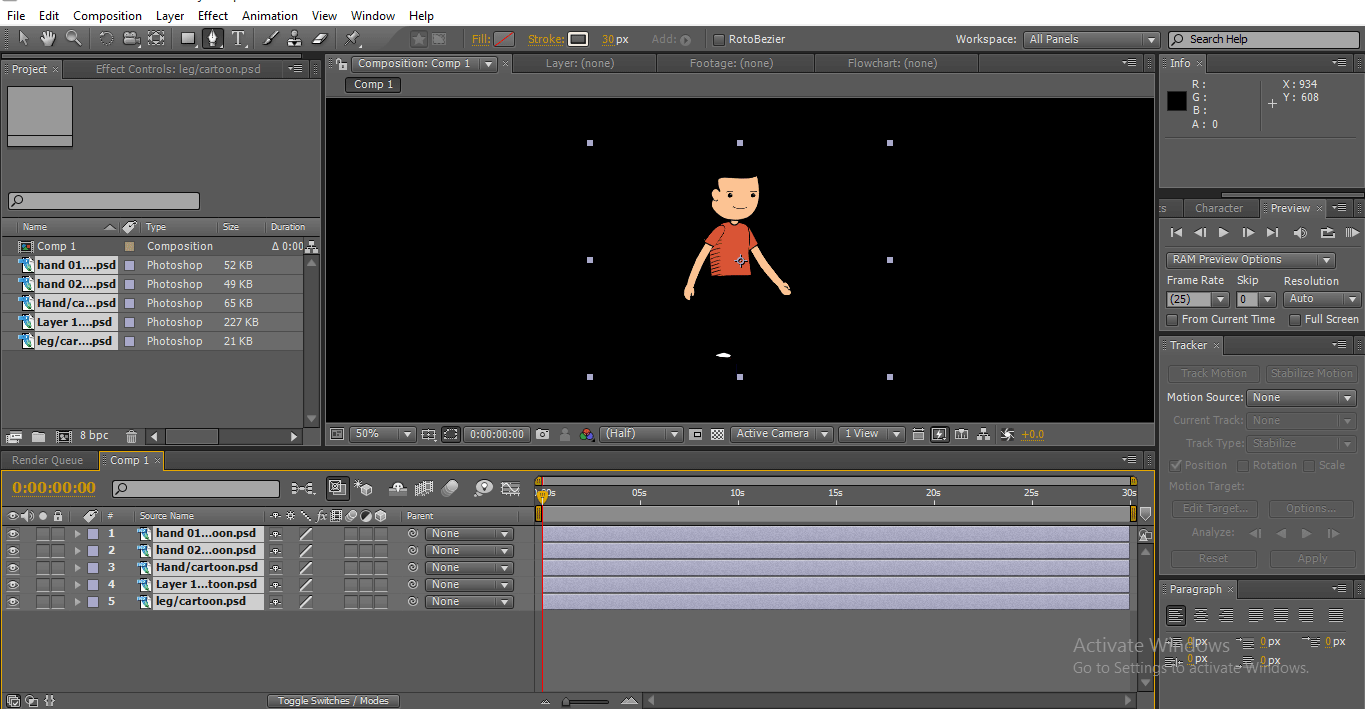
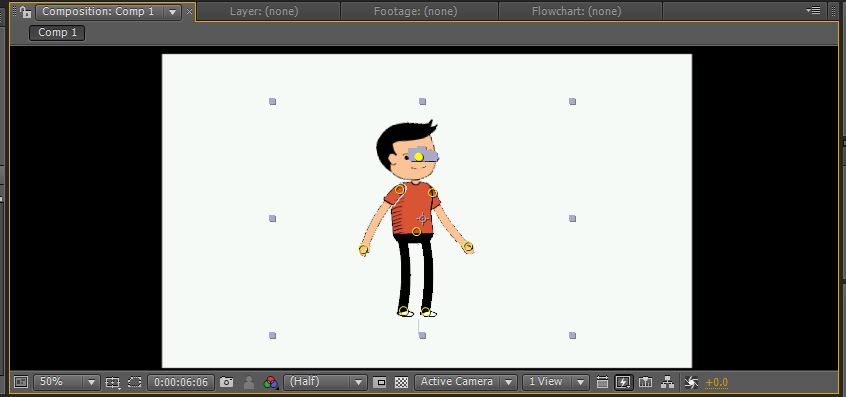
Here we can find a cartoon character; each layer is individual in this cartoon. With the individual layer, we are going to animate the character.
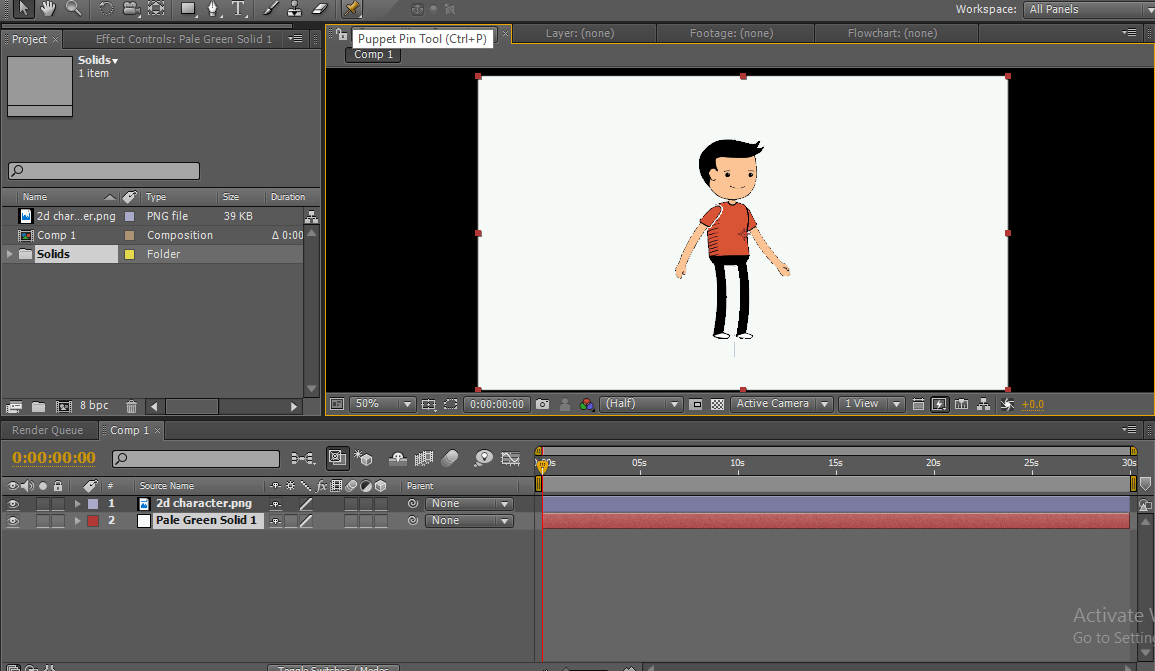
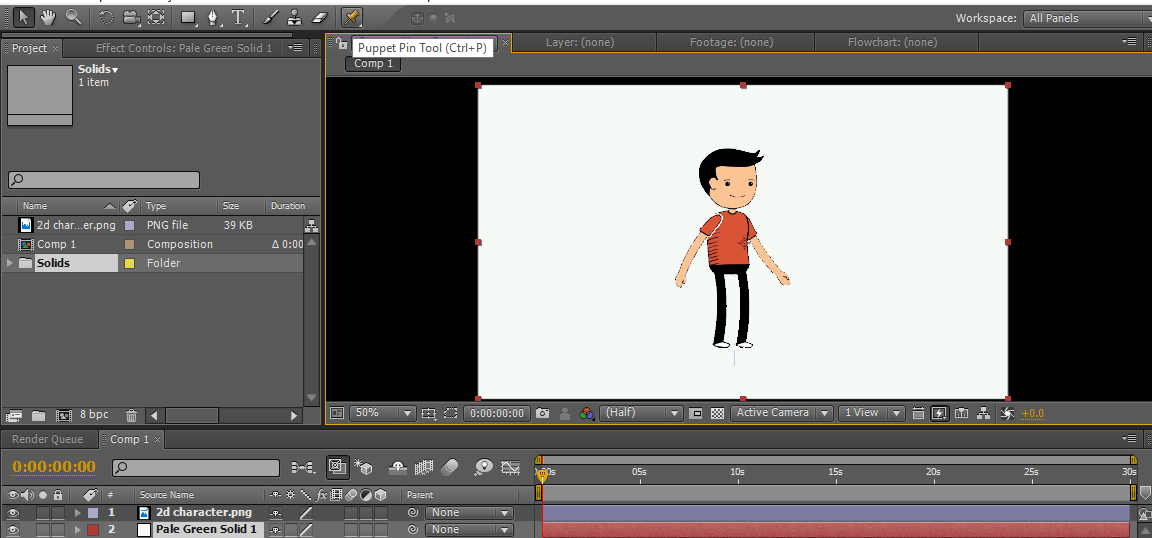
Step 6:We are going to add a solid layer as a background.
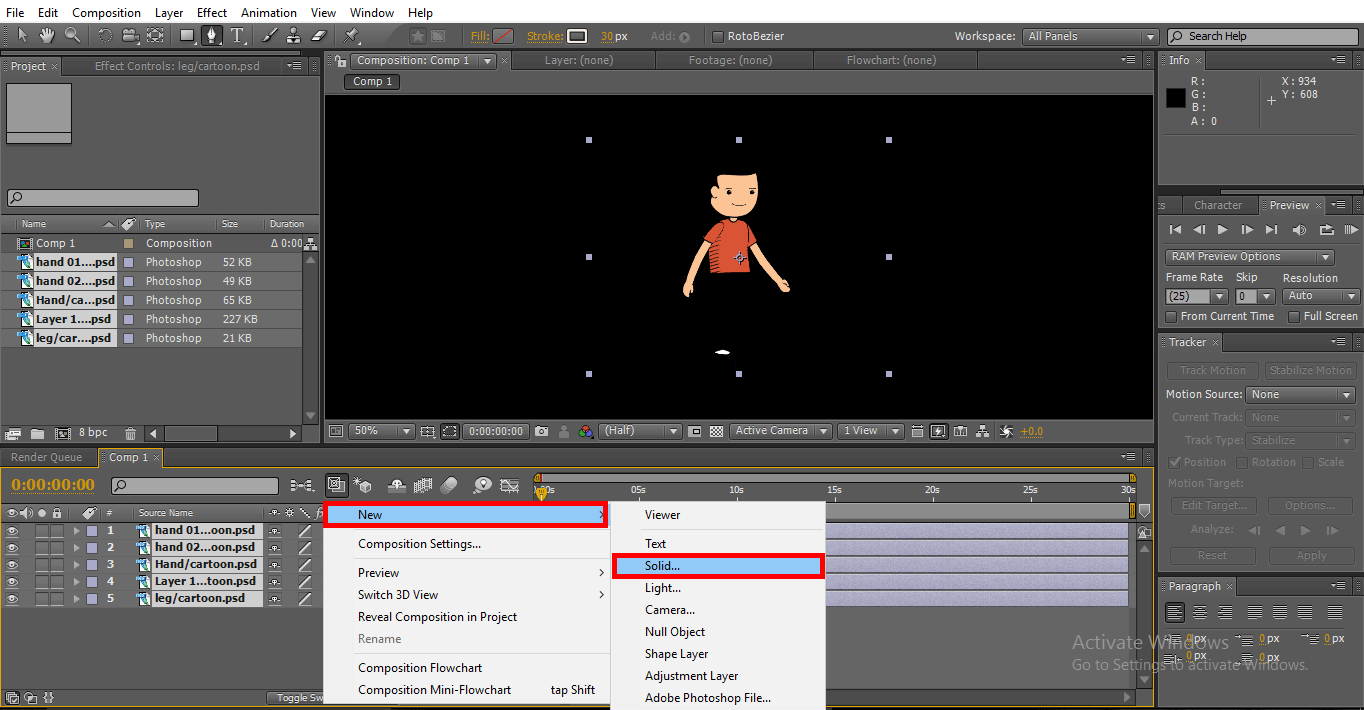
Step 7:Here, we can find a white solid layer as a background.
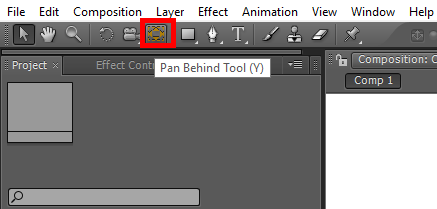
To create a walk cycle, we need to move legs, hands, head, and body; if we rotate legs and hand, it won't move correctly, so we need to change the center points of legs and hands now.
Step 8: Select Pan Behind Tool; we can use Y as a shortcut. This tool is used to move the center anchor point. Here we use this tool to change the center point of hands and legs.
Step 9:Here, we selected hand 02.
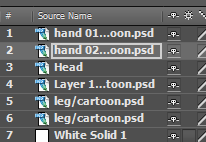
We fix the center point near the shoulder because while we rotate the hand, it moves naturally.
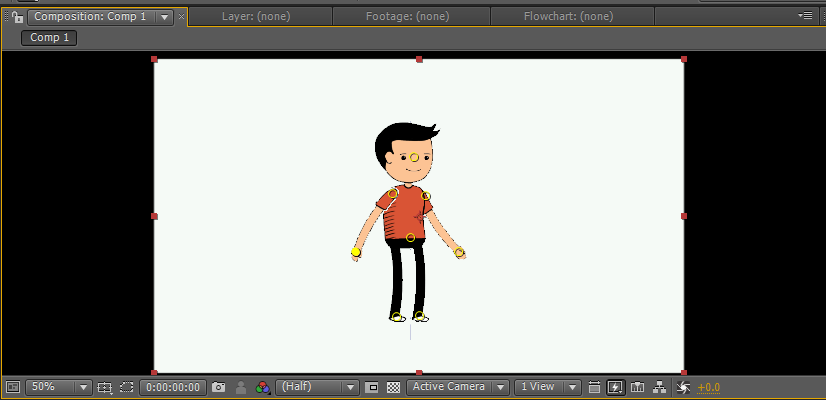
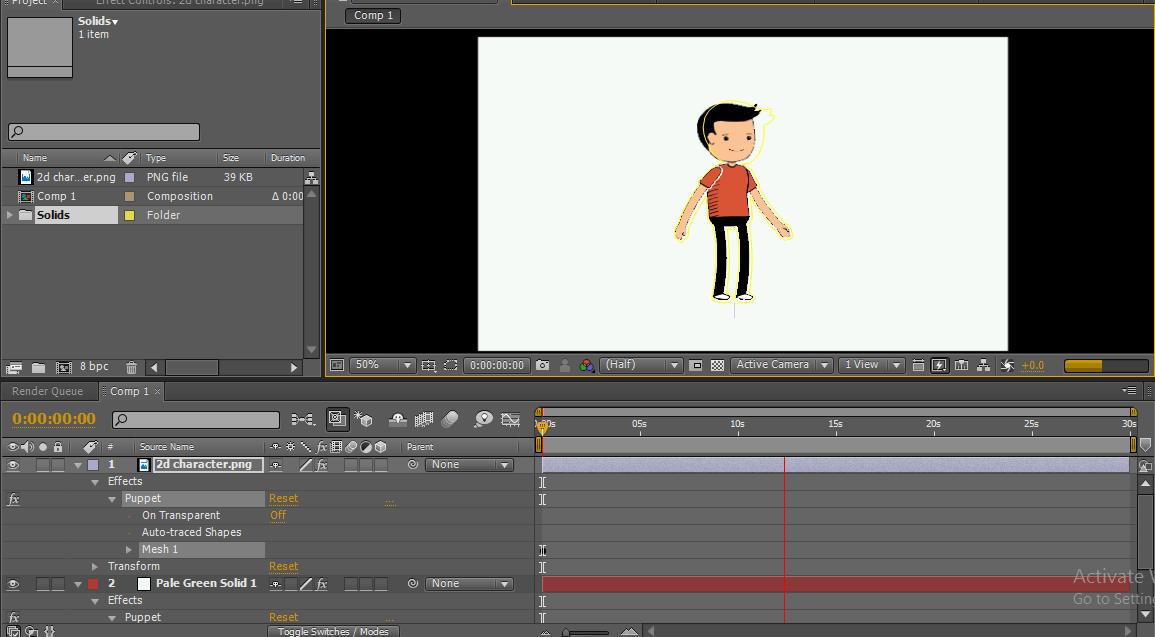
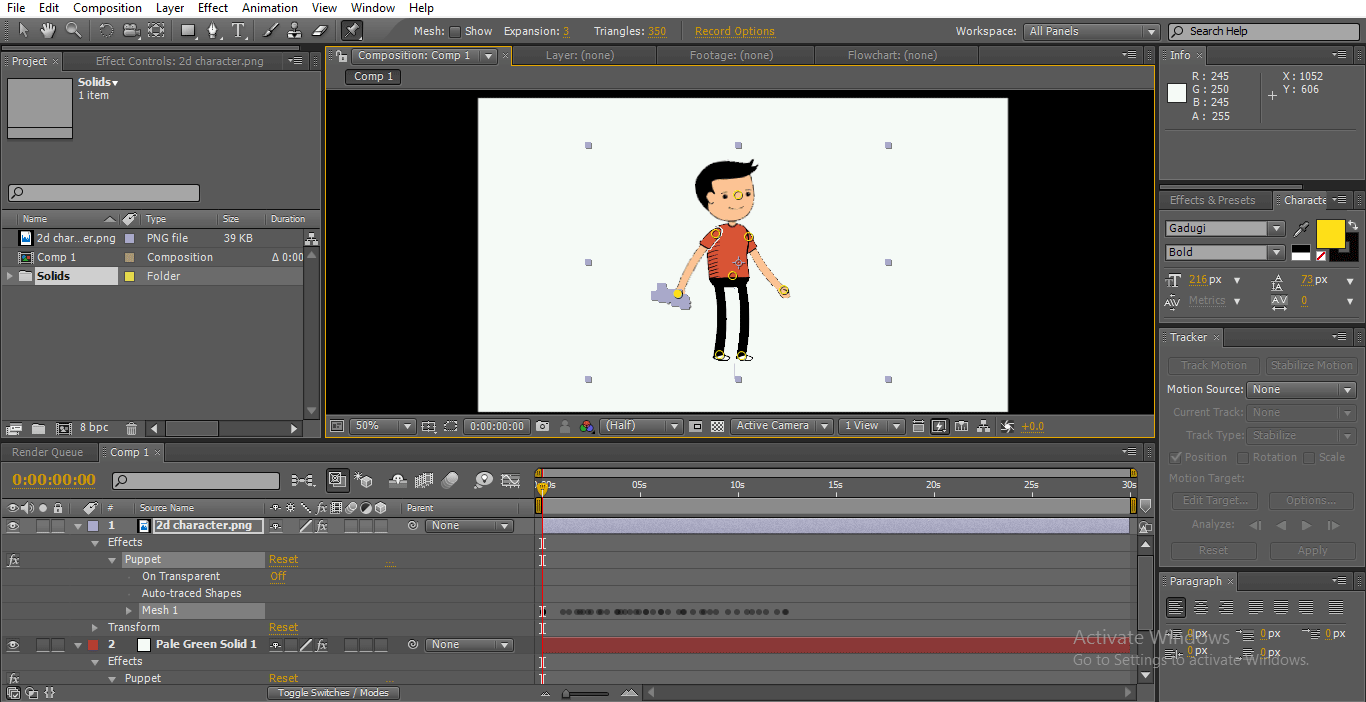
Step 10:Here, we select the head layer, and for creating a head layer, we use the Puppet Pin Tool.
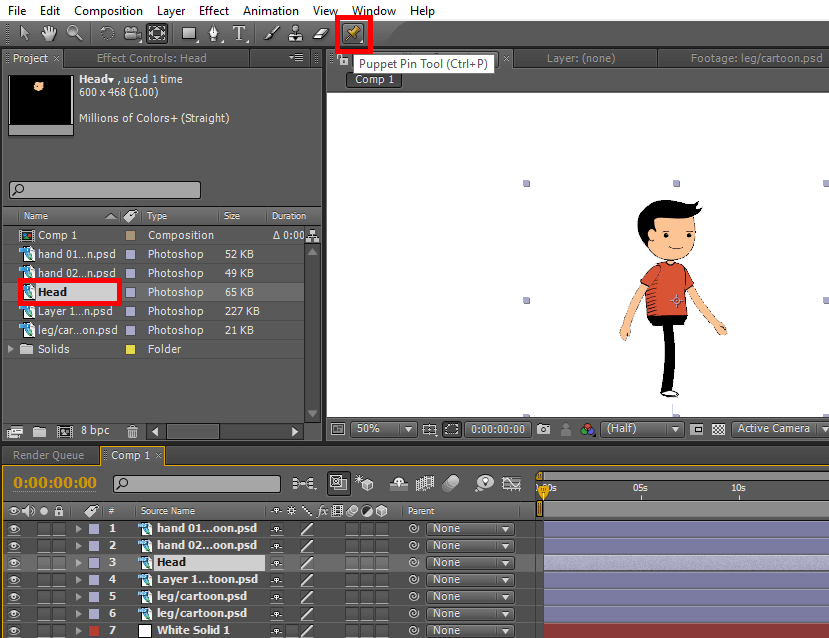
This tool lets you pin a point in the image, and each time we can move it, this pin acts as a smooth joint; we can find a puppet pinpoint on the face as it acts as a smooth joint to move the head according to the moment of legs and hand.
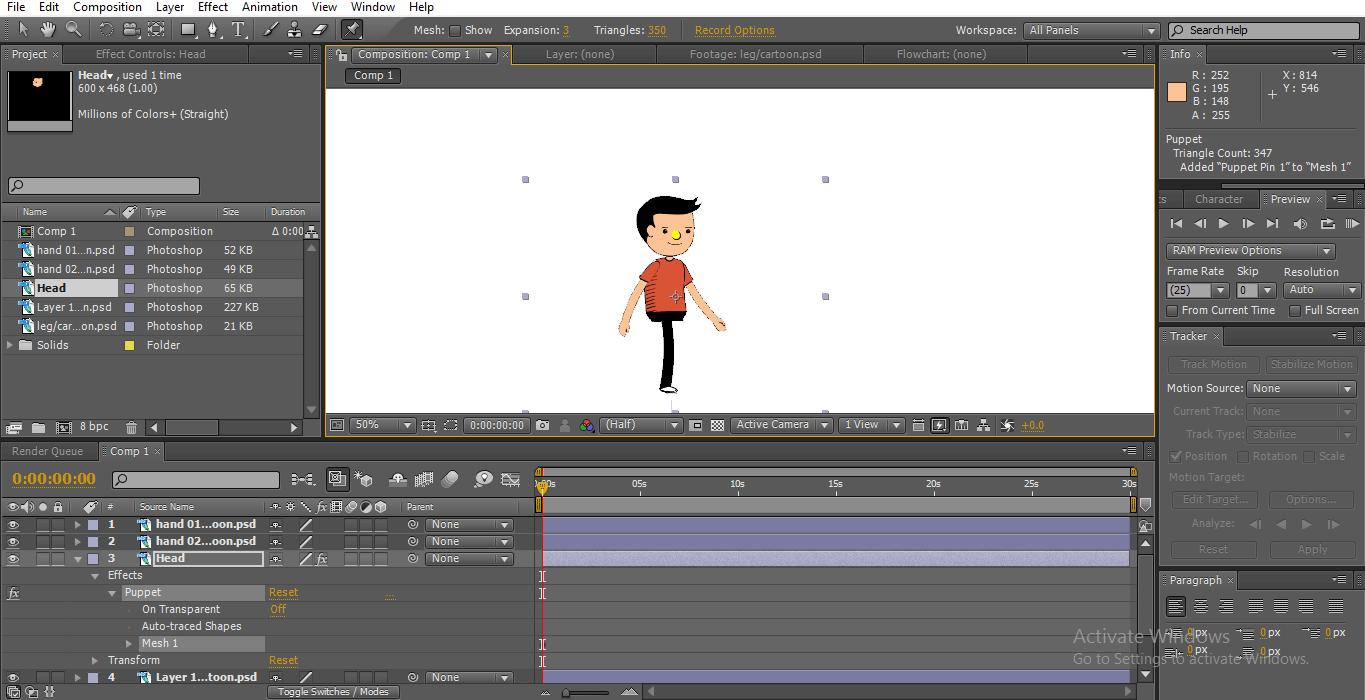
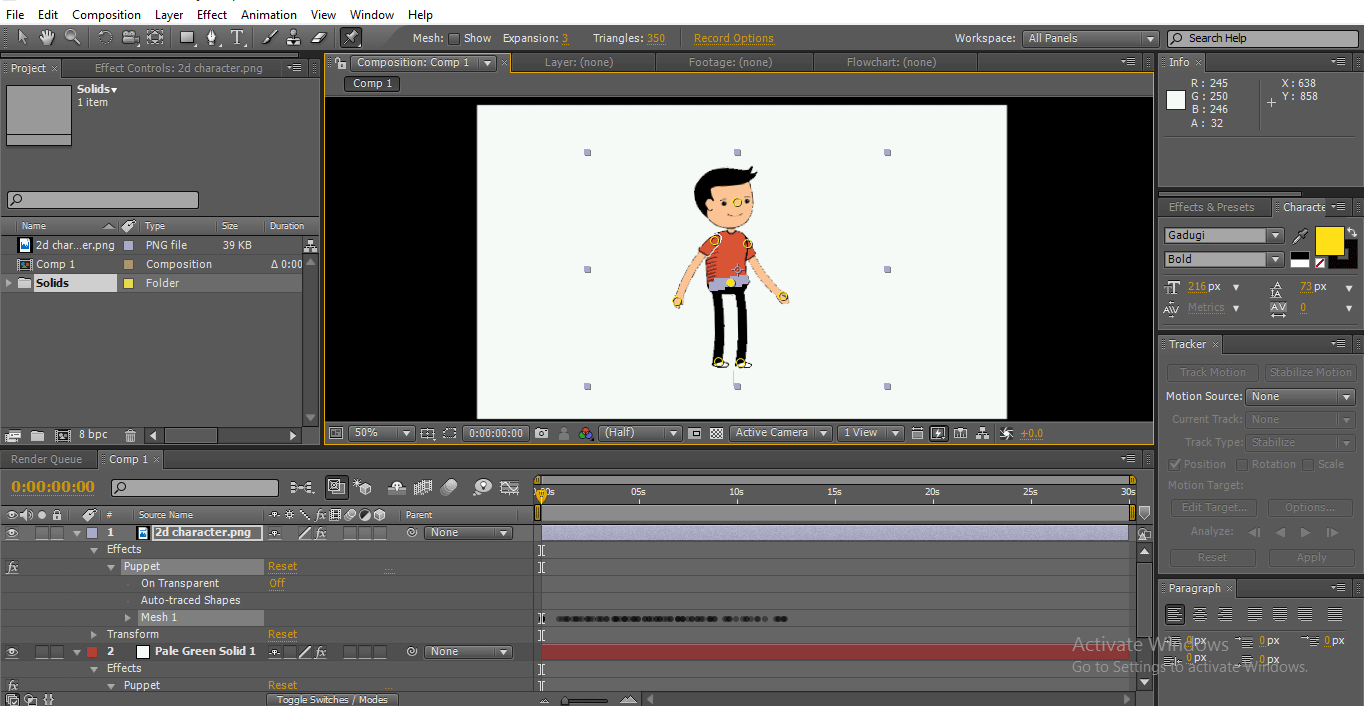
Step 11:For the body, we will create two pins to move the body.
Step 12:Here, we adjust the center point near the hip; it helps us to move the leg naturally.
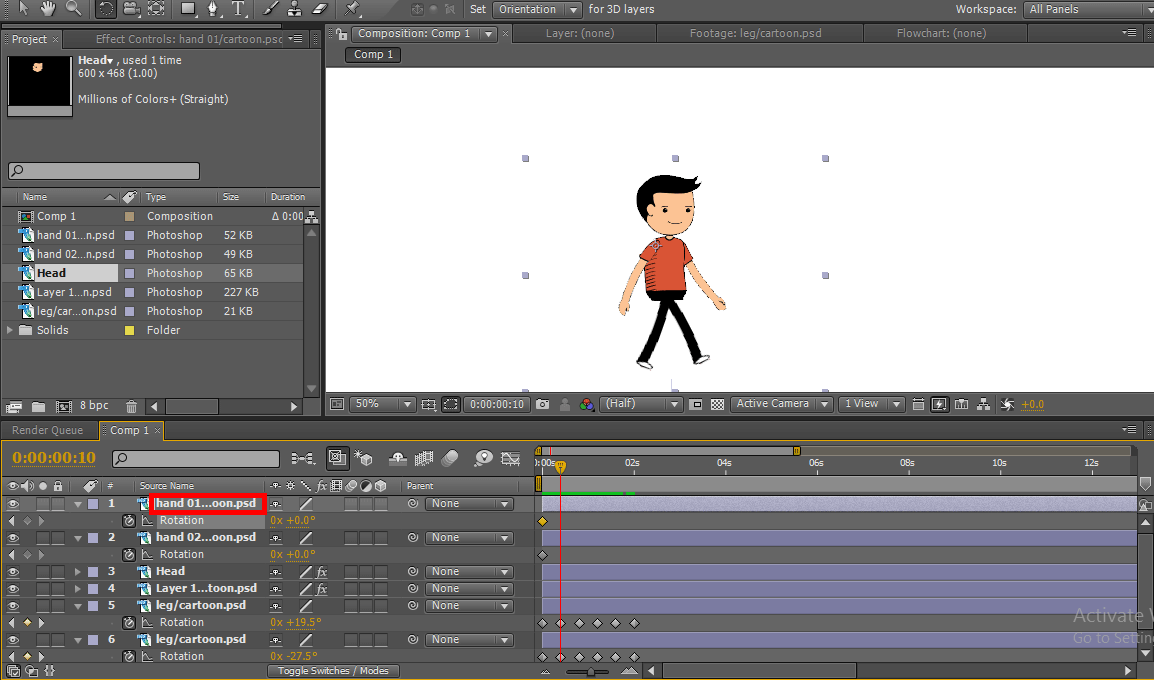
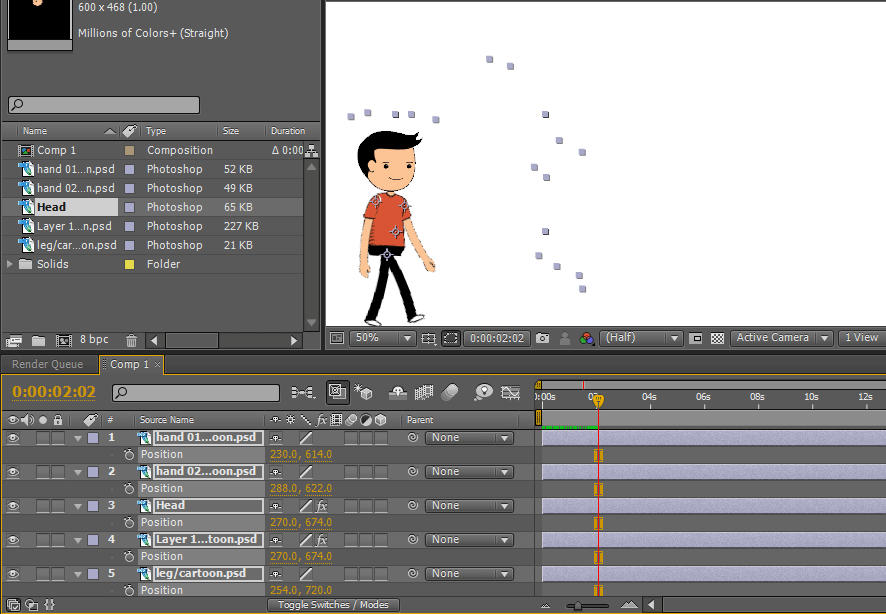
Step 13:First, we start animating legs, so select the legs and press R on the keyboard, which is a shortcut for Rotation. Click on keyframes of rotation and move the legs.
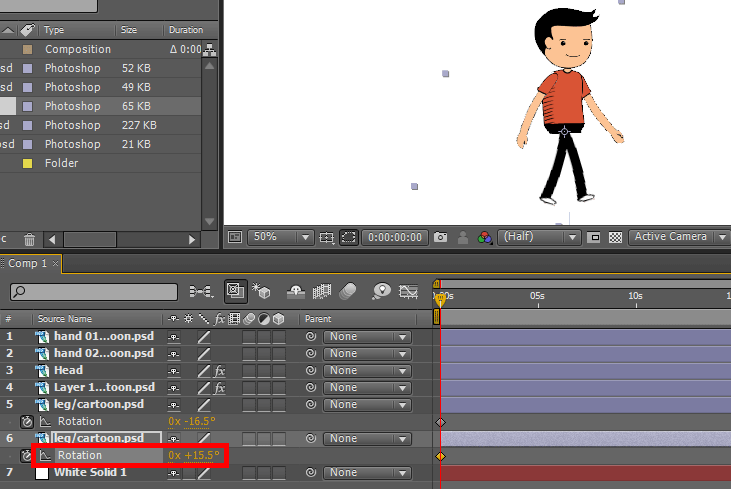
Step 14:Create some keyframes by moving the leg's direction.
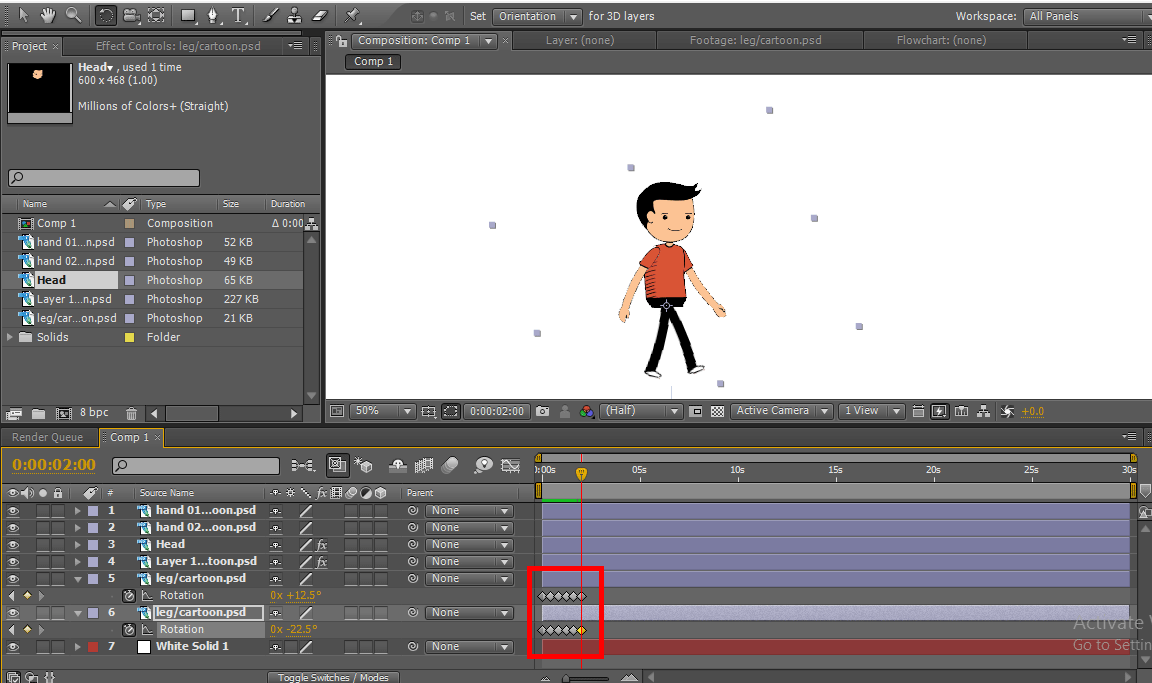
Here we can find some keyframes; in every keyframe, we change the rotation of legs, now let's start hands.
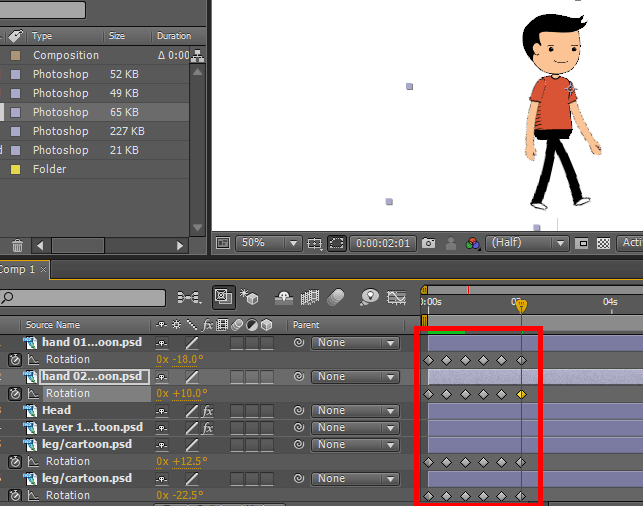
Step 15:Select the hands and start keyframes for rotation, each point where we created for legs the same place we need to create points to move hands.
Here we find the legs keyframes, and we need to place our hand keyframes in the same place to create animation naturally.
Step 16:Here, we can find the keyframes of legs and hands in the same places.
Step 17:For the head, we have a puppet pin, so we move the pin according to the moment of hand and legs; we do not have to create the keyframes for the puppet it creates on its own whenever we give a moment.
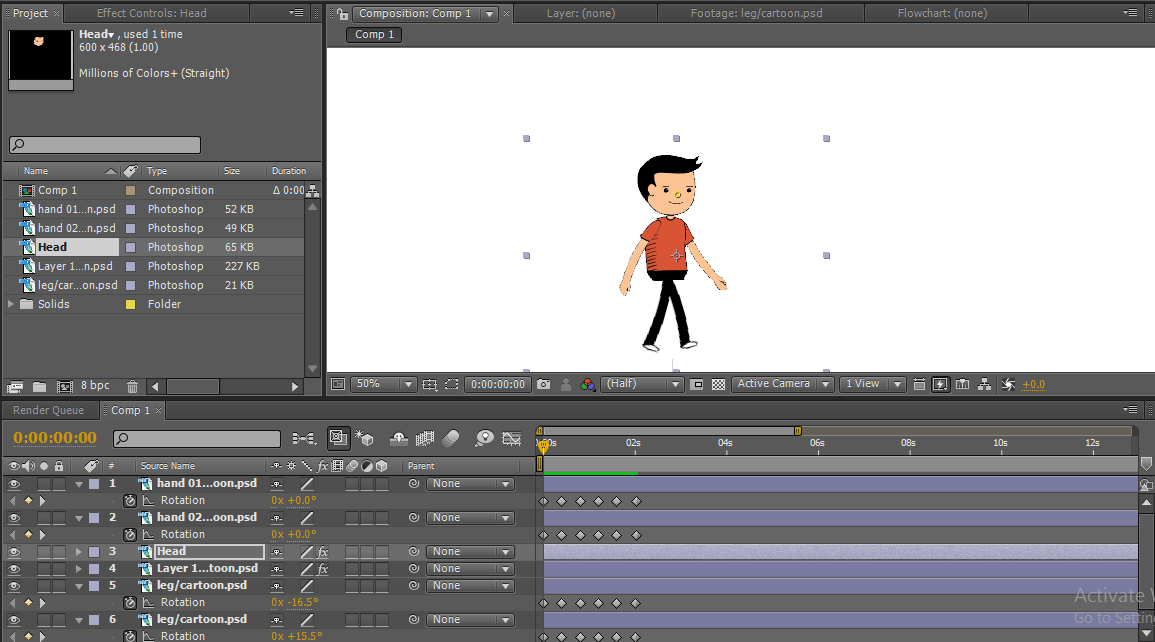
Step 18:For the body also we have created a puppet pin, so we move the pins according to the moment.
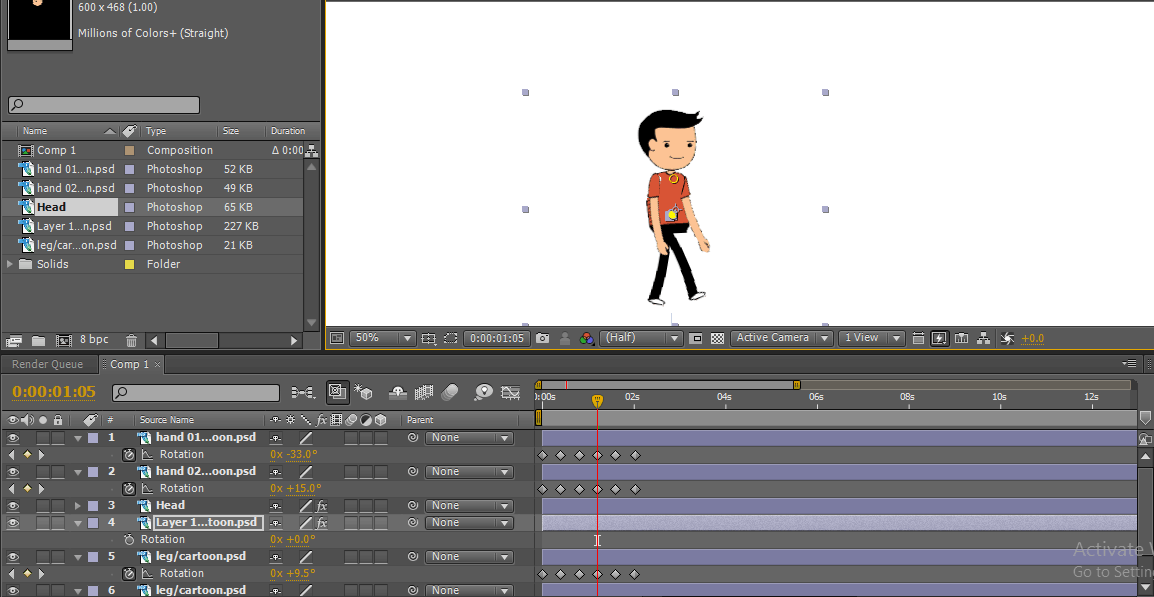
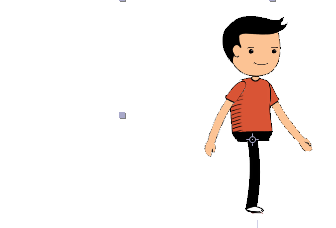
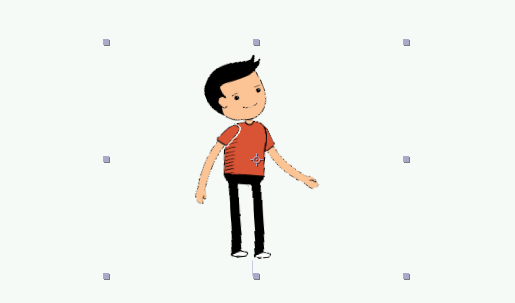
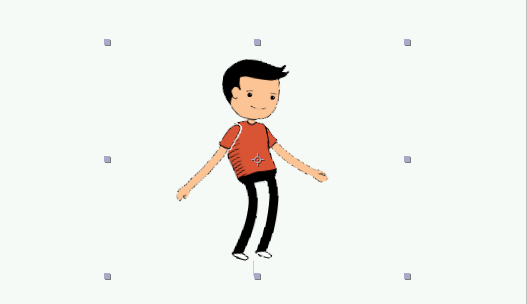
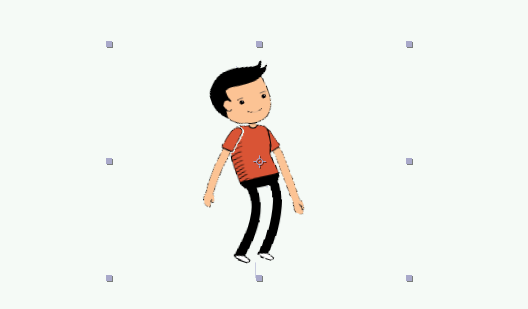
Step 19:Here, we created a complete walk cycle, and we can find the center points which is fixed like joints to the character, but the walk cycle we created in a particular position which walks in the same place without changing the position so we need to change the position of the character.

Step 20:Select all the layers and move the cartoon on any one side. I move it to the left side; now, we need to move the cartoon from one position to another. So we select position by pressing P on the keyboard, now the position is selected to all the layers.
Step 21:When we click on the keyframe of position, all layers position is activated.

Step 22:Now, take the cartoon to the next position, where we ended the walk cycle. Here we can find the starting and ending position.
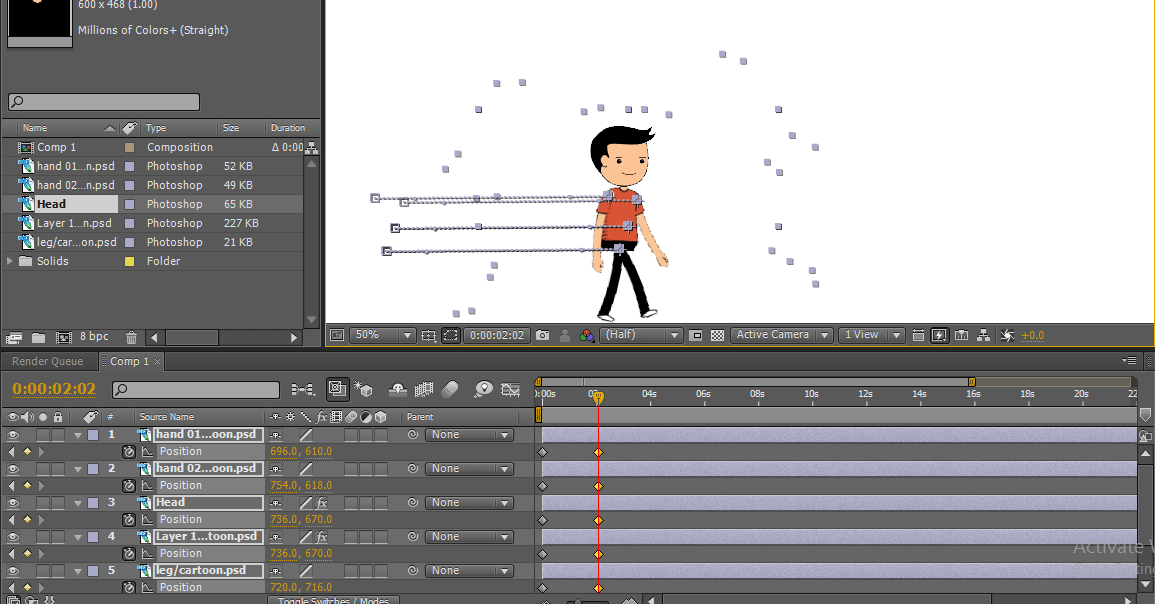
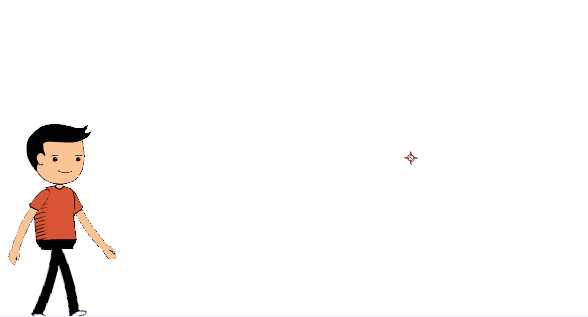
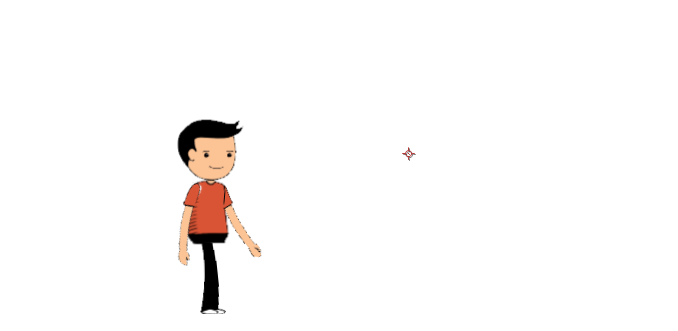
Step 23:Here we can see how cartoon walks from one position to another.


Here we created the walk cycle of a cartoon character; in this process, we imported the layers of the cartoon character individually hands, legs, head, and body.
We created a solid background, changed the center points of the parts according to our comfort, moved the hands and legs by creating keyframes, and moved the body and head with the help of the puppet pin tool the whole process; we gave position. Here we learn, how to create a walk cycle of a 2D cartoon, how to use the puppet pin tool.
How to Create a Dancing Cartoon?
Now I am going to show how to create a cartoon dance with an easy method:
Step 1:Import a cartoon. It is better to import a PNG file.
Step 2:Select the puppet pin tool.
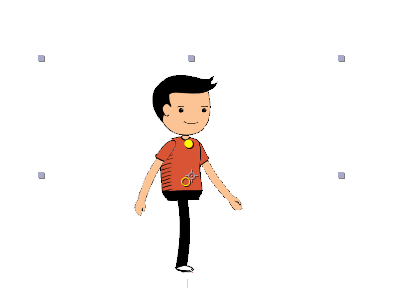
Step 3:Give the points to the cartoon, points on head, body, legs and hands.
These points act like smooth joints; if we hold anyone point, it moves individually without disturbing another; these points act like bone fitting.
Step 4:When we hold the CTRL-key, we can find a watch symbol on the cruiser; by pressing CTRL to hold the left- click on a certain point and move. The cursor will move and give keyframes automatically. We can find an outline moving as shown in the below image.
When we release CTRL keyframes, it automatically stops, and the cursor comes to the first position, and a gray line of the moment is visible on a particular point.
Step 5:We need to move hands, hip, etc.

We can find gray shades on every point where we move the positions. We make individual moments, individual keyframes added.
Step 6:Now, just play to see all moments at once.

Here we learn an easy way to create cartoon dance, and we learn how to use the Puppet pin tool. Hope we learn a good topic.
Recommended Articles
This is a guide to 2D After Effects Animation. Here we discuss creating a cartoon and creating a dancing cartoon in 2D after effects animation. You can also go through our other related articles to learn more –
- Find out the Differences of 2D & 3D Shapes
- Animating Objects in 2D Software
- Creating Text Animation in After Effects
- How to Mask Objects in After Effects?
- Principles of Animation
- Animation in Flash
2d Animation In After Effects
Source: https://www.educba.com/2d-after-effects-animation/
Posted by: whitmanactim1998.blogspot.com
0 Response to "2d Animation In After Effects"
Post a Comment